
Last updated November 16, 2026
 Wrought iron
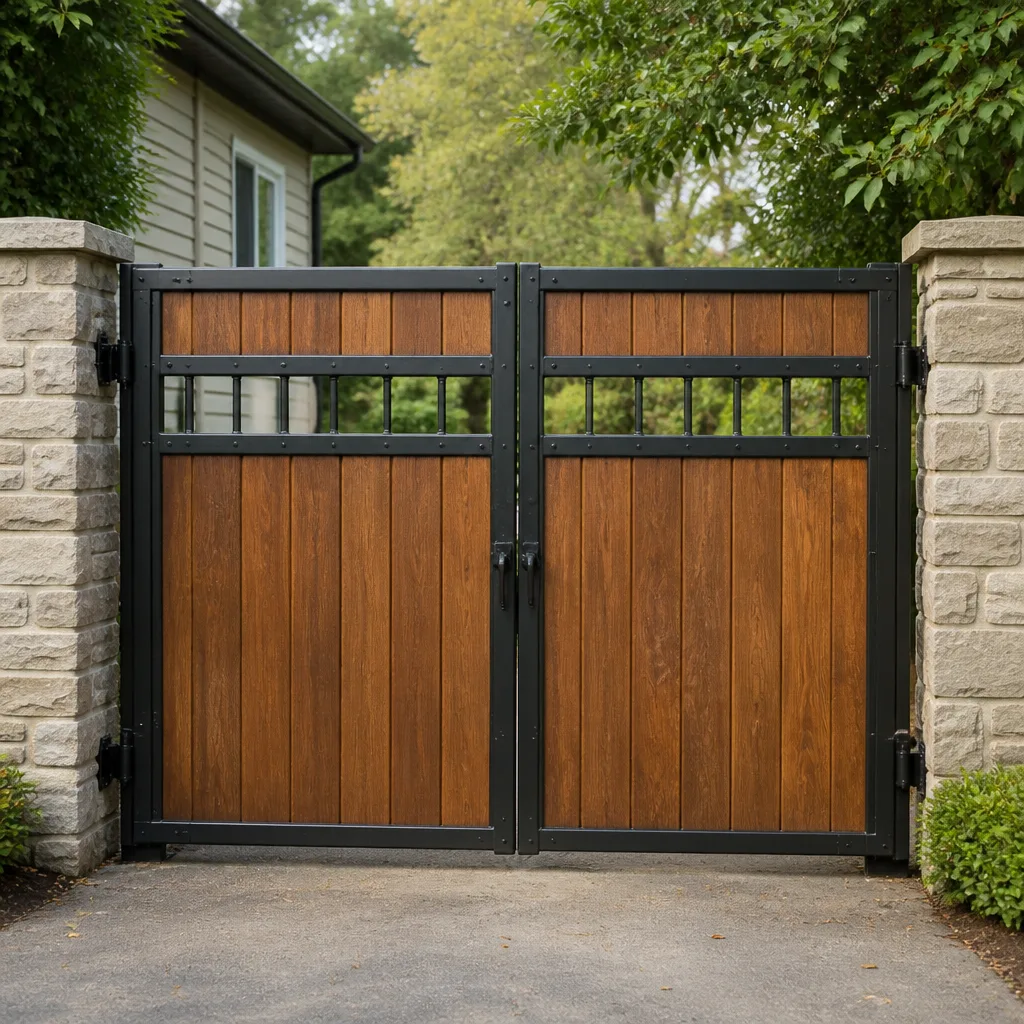 Wood & steel frame
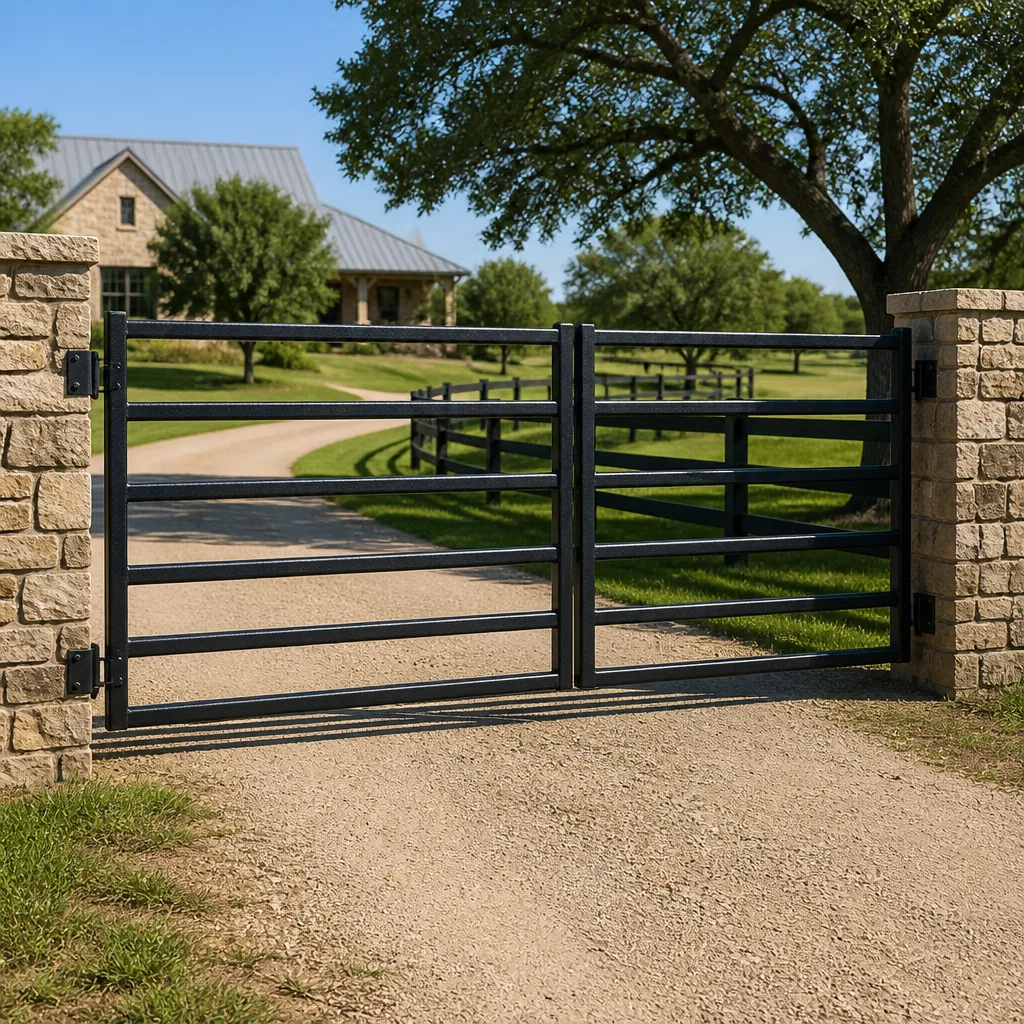 Farm & ranch
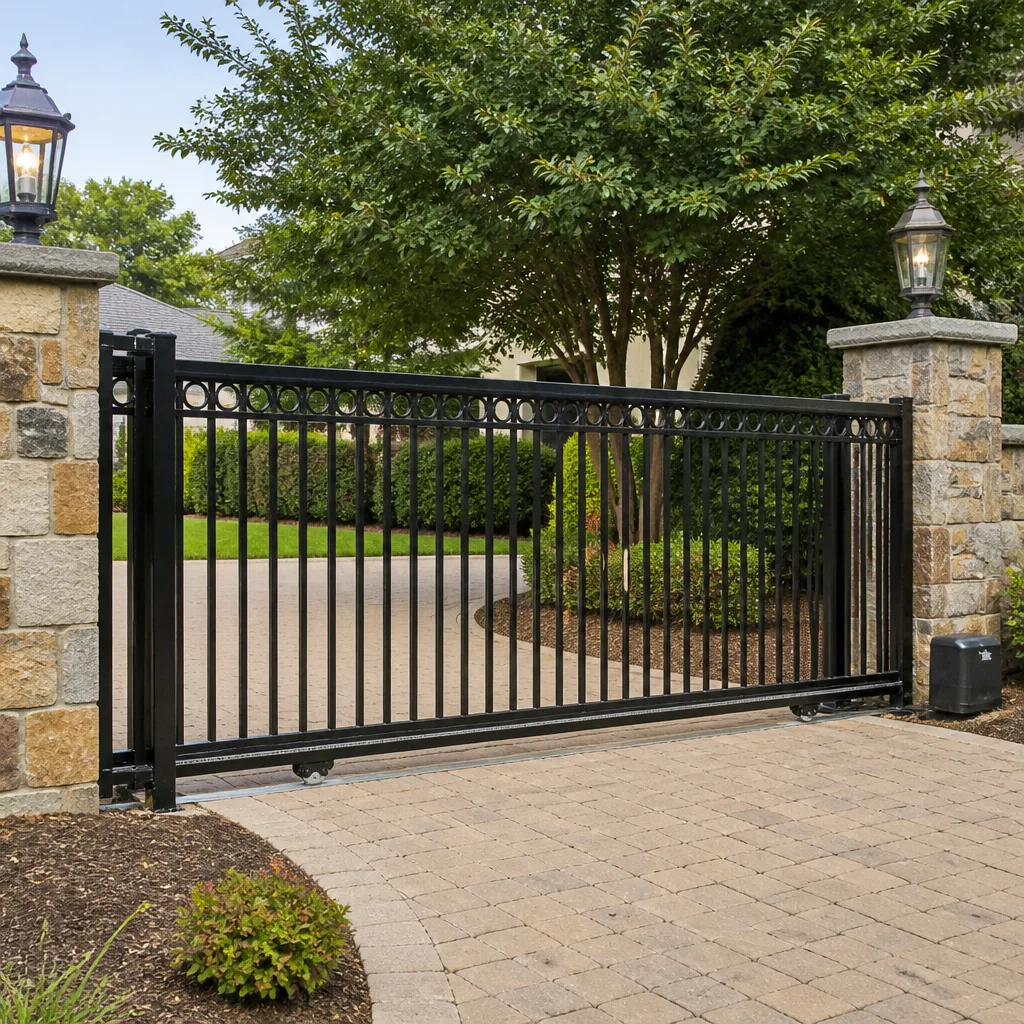 Sliding driveway gates
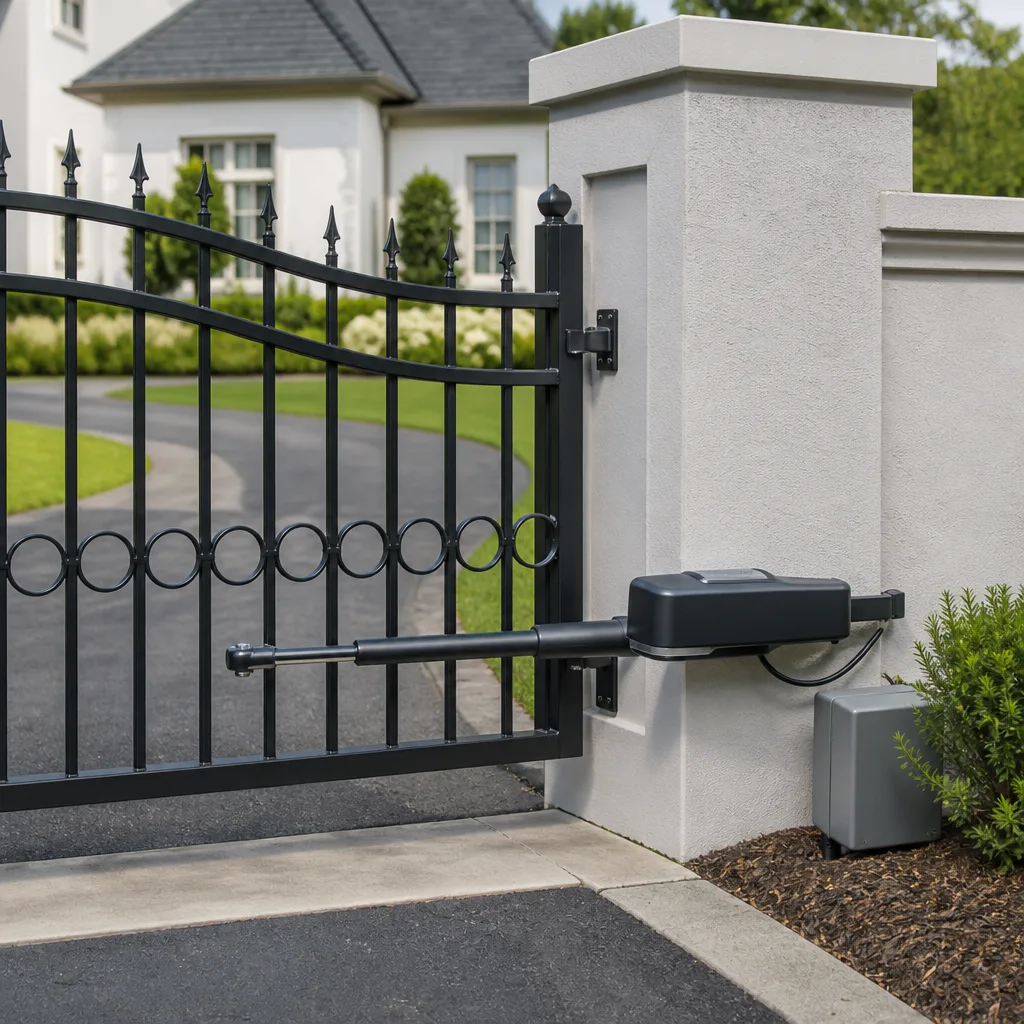 LiftMaster operators
Free on-site gate assessment - hinges, posts, and your LiftMaster or Nice gate operator checked before anything is quoted
The assessment is free and the quote is the invoice.
Get your free estimateGate Repair Maintenance Checklist for Virginia Beach Homeowners
Most homeowners finish a maintenance check and feel good about it. They oiled the hinges, cleared the leaves, maybe tightened a bolt. And they still miss the part that fails first: the control board capacitor, which sits inside the operator housing and shows no visible symptoms at all until the gate hums, stalls, and stops mid-cycle. It’s one of the most common failures we diagnose, and it never announces itself. What follows is a checklist built around how automated gates actually age in Virginia Beach, where humidity and storm cycles push three separate wear clocks at once.
Quick Answer
A gate maintenance checklist for a Virginia Beach home should split tasks into three groups on three different schedules: mechanical parts (hinges, rollers, chains) checked monthly to quarterly, electrical parts (control boards, sensors, wiring) tested monthly and inspected yearly, and structural elements (posts, welds, concrete footings) checked twice a year and after every named storm. Lubrication, sensor testing, and post-storm inspection matter most here because heat and humidity accelerate wear faster than most homeowners expect. A once-a-year glance at the whole gate is not enough.
Styles & brands we work with
- Wrought iron
- Wood & steel frame
- Farm & ranch
- Sliding driveway gates
- LiftMaster operators
Table of Contents
- Why a Virginia Beach Gate Has Three Failure Clocks
- Mechanical Maintenance: Hinges, Rollers, Chains, and Tracks
- Electrical Maintenance: Boards, Capacitors, Sensors, and Wiring
- Structural Checks: Posts, Welds, and Concrete Footings
- Lubrication That Holds Up in Virginia Beach Humidity
- Two Tests You Can Run Yourself Without Tools
- The Post-Storm Checklist for Nor’easters and Hurricane Remnants
- What a Professional Maintenance Visit Should Cover
Why a Virginia Beach Gate Has Three Failure Clocks
An automatic gate is not one machine. It’s three machines bolted together: a mechanical system that moves, an electrical system that decides when to move, and a structural system that holds everything in place. Each one ages on its own schedule, and each one fails for different reasons.
Mechanical wear is predictable. Metal rubs against metal, grease thins, chains stretch, rollers flatten. Most of it announces itself with noise or a slow drift in how the gate sits.
Electrical degradation is the quiet one. Control boards sit inside sealed housings that trap heat through a Virginia Beach summer. Capacitors – the small components that give a motor its starting kick – dry out and lose capacity over time. A capacitor at 80 percent of its original rating may still open a gate for months. Then one hot afternoon it won’t, and the homeowner assumes the whole operator died.
Structural failure runs slowest but matters most. Swing gate posts shift in soil that moves with wet and dry cycles. Welds on older gate frames crack where water sits. Concrete footings can loosen after enough storm seasons, and a gate that leans a fraction of an inch today can bind against its own hinge tomorrow.
The practical takeaway: don’t build your maintenance around a calendar year. Build it around three clocks running at different speeds. A gate in Virginia Beach that gets an annual “tune-up” and nothing else is being maintained on the schedule of the slowest clock, while the two faster ones keep ticking.
The same logic applies whether you’re running a lightweight residential operator from Ghost Controls or a heavier commercial-grade unit from BFT. The hardware differs, but the three clocks don’t.
Mechanical Maintenance: Hinges, Rollers, Chains, and Tracks
Mechanical parts wear by use, not by the calendar, so mileage matters more than months. A gate that cycles 40 times a day needs mechanical attention far more often than one that opens twice.
Here’s what to check and roughly how often:
- Every month: Listen to the gate travel. Any new squeal, grind, or rhythmic thump is a signal to look closer. Noise that started recently usually points to a dry hinge, a worn roller, or a chain that needs tension.
- Every month: Run a hand along the gate’s path. Swing gates should clear the ground evenly across the full arc. Slide gates should roll without catching at any point on the track.
- Every three months: Check hinge pins for play. A pin with visible wiggle will eventually oval out the mount hole, and that repair is far more involved than a pin replacement.
- Every three months: Inspect chain tension on chain-drive operators. A chain that sags more than a small amount on its return run will slap and wear the sprocket. Chains stretch naturally; they don’t need replacing when a simple adjustment brings them back.
- Every three months: Clean and inspect rollers on slide gates. Rollers pick up grit, flatten on one side, and start dragging. A flattened roller also puts lateral stress on the track.
- Twice a year: Check the gate stops and the physical open and close limits. On older setups these are mechanical bolts or tabs; on newer operators they’re electronic, but the gate still needs to come to rest in the right place.
One point that general handymen often miss: mechanical noise and electrical symptoms can look identical. A gate that stops halfway through opening sometimes has a dry roller binding the motor, and sometimes has a weak control board that can’t handle the load. Knowing which is which is what our technicians have up to 14 years of experience doing, and it’s why we work on the gate you have rather than the one we prefer to sell. If your mechanical checks look fine and the gate still misbehaves, the problem is likely in our next section.
Electrical Maintenance: Boards, Capacitors, Sensors, and Wiring
This is where most DIY maintenance ends, and it’s where the important failures live. Control boards, capacitors, photo-eye sensors, keypads, loop detectors, and the low-voltage wiring that ties them together all degrade quietly, and none of them fail in a way a homeowner can see.
Trained technicians treat electrical inspection as its own discipline. Here’s what should happen on a proper electrical walkthrough:
- Capacitor check. A technician tests capacitance against the motor’s rating. A capacitor running well below spec is a part that will strand the gate eventually, and it’s inexpensive to replace before that happens.
- Control board inspection. Look for heat discoloration, swollen capacitors on the board itself, and any signs of moisture ingress around the housing gasket. In a Virginia Beach summer, a housing that isn’t sealed properly can trap humid air that condenses overnight.
- Sensor alignment and range. Photo-eyes should stop the gate from closing when a person or object enters the beam. Test alignment and effective range, not just the “beam is intact” default.
- Safety reverse and obstruction response. The operator’s built-in safety should reverse the gate on contact with an obstruction. Test it deliberately, at low speed, so you know it works when it matters.
- Wiring condition. Low-voltage wiring buried to the gate, and the connections at the operator, are vulnerable to moisture and rodent damage. Look for corrosion at terminal blocks and any wiring that sits in standing water after rain.
- Battery backup. If your operator has one, test it. Backup batteries age out like any other battery, and an operator that works fine on mains power can be dead the first time the power goes out.
A word on safety: the electrical side of an automatic gate involves line-voltage connections at the operator and control wiring that can hurt you if you’re not trained. We recommend leaving anything inside the operator housing to a trained professional, and treating a “homemade” fix to a control board as a serious risk to the gate and to anyone nearby. If you’d rather have an experienced technician run the electrical inspection, electric gate repair is a core part of what we do, not an add-on.
Structural Checks: Posts, Welds, and Concrete Footings
The frame gets the least attention and deserves the most. A gate can have healthy mechanics and a healthy operator and still work poorly because the structure has shifted.
Structural checks are simple to perform visually and twice a year is plenty, plus once after any significant storm:
- Check post plumb. A four-foot level held against the post should show no visible lean. A post that’s leaning was either set to the wrong footing depth or has shifted, and a leaning post binds a swing gate against its own hinge.
- Look at the base of the post. Soil erosion around the concrete footing is common after heavy rain. A footing that’s exposed is a footing that’s moving.
- Inspect welds and joints. Look for rust lines running from a weld seam, which signals a crack that’s been taking water. Look for metal that’s starting to separate at the corners of the gate frame.
- Check the concrete itself. Cracks in the footing, or a footing that’s crumbling at the edge, mean the anchor bolts may be losing their grip. Don’t ignore this; a gate that comes off its post is a hazard.
- Look at gate sag. With the gate in the closed position, check that the far edge is at the right height relative to the post. A gate that’s sagging over time is typically a post issue or a hinge issue, and the fix depends on which.
In Virginia Beach, post footings need to be set to proper depth regardless of what the surface soil looks like. Some areas have sandy or loose topsoil that allows movement more easily than the ground the gate was originally set into, and that shift happens slowly enough that most homeowners don’t notice until the gate hangs wrong. If anything under the post looks loose, stop using the gate and have it looked at, because a heavy gate panel that falls is a real injury risk.
Lubrication That Holds Up in Virginia Beach Humidity
Lubrication is the task most often done wrong, and humidity is why. A light oil that works fine in dry air will thin out and run off fast in a Virginia Beach summer, leaving the hinge dry again within weeks. Meanwhile, sticky greases that seem like a good idea attract grit and hold it against the bearing surface, which accelerates wear instead of preventing it.
Here’s the working rule we give homeowners:
- Use a high-quality, moderately viscous grease on hinge pins and roller bearings. Thicker than oil, but not a heavy tacky grease that starts to collect grit.
- Avoid the spray oils and WD-40-style products. They’re fine for breaking loose a stuck part once. They don’t hold up as a lasting lubricant in an outdoor, humid environment.
- Don’t over-apply. A thin film is enough. Excess grease traps grit and actually shortens component life.
- Wipe off old grease before adding new. Mixing lubricant types is a common reason a hinge gets sticky.
- Apply to chains with a chain-specific lubricant, not general grease. Grease on a chain gunks up the sprocket.
On the electrical side, keep the operator housing gasket in good shape. If the housing isn’t sealing properly, humid air condenses inside and gradually degrades the board. That’s a lubrication-adjacent habit worth building: check the seal on the housing at every seasonal check, because once the housing starts letting air in, the electrical clock speeds up.
Two Tests You Can Run Yourself Without Tools
Two important checks need nothing more than your eyes and hands, and getting a clear answer from them tells you when to call a technician. Both take about a minute.
Test 1: The photo-eye sensor test.
- Open the gate fully, then command it to close.
- While the gate is closing, pass a hand or a long object slowly through the safety beam path between the two sensor eyes.
- The gate should reverse. If it keeps closing, or hesitates and then continues, the safety beam has failed.
- Do the same on the open cycle if your install has a sensor covering the open path. On most residential systems, the close-side beam is the one that matters most.
A failed result means the gate doesn’t know when something’s in the way. That’s the most important safety feature on the machine. Stop using the gate and get it repaired. It’s rarely expensive to fix, but it’s a serious problem to leave in place.
Test 2: The limit switch check.
- Command the gate to open and watch it come to rest. Does it stop cleanly at the open limit, or does it slow down, stall, or run briefly into the end of travel?
- Do the same on the close cycle. Does it stop just short of the receiving post, or does it bang into the post and stop?
- Listen for a change in motor sound at the end of travel. A healthy limit produces a clean stop; a failing one produces a stall, a grunt, or a hesitation.
A failed result means the gate doesn’t know where its own travel ends. That stresses the motor, stresses the gearbox, and eventually leads to a hard failure at an inconvenient time. On an operator like a Linear or Viking unit, this can often be a simple limit adjustment. On complex systems, it may be a sensor or a control board issue. Either way, it’s worth fixing before the gate strands itself.
The Post-Storm Checklist for Nor’easters and Hurricane Remnants
Virginia Beach sees storm systems that can do three things at once: dump a lot of rain, drive wind against the gate, and put enough debris on the ground to interfere with sensors and travel. A post-storm check matters more than a mid-season check, because it addresses damage that just happened.
Run this list after any named storm or a few inches of rain in a short window:
- Look for standing water at the base of the post and the operator housing. Water pooling around the post undermines the footing. Water at the housing is a control board risk.
- Clear the gate’s path. Branches, leaves, roof shingle fragments, and blown lawn debris cause more gate failures after a storm than the storm itself.
- Check the sensors. Mud and grit on the sensor lenses from wind-driven rain will break the safety beam even when the sensor itself is fine. Wipe them clean and re-test.
- Look for impact damage. Windblown debris hits gate panels, and a bent panel can bind the gate against its own track. Check that the gate swings or slides freely by hand, with power off, before cycling it.
- Inspect the post and footing. Look for water undercutting the concrete footing, especially on the side that faced the wind.
- Check the battery backup. After a storm that knocked power out for a stretch, run the gate on backup and see how it performs. A backup battery that won’t cycle the gate in normal conditions needs to be replaced.
- Test the safety reverse. Debris can temporarily interfere with the safety feature or hide a sensor problem. Test it after cleanup.
If the gate took a hit to the structure, or water got into the operator housing, stop using it until it’s looked at. Storm damage that gets deferred tends to snowball: a wet control board corrodes over weeks, and a slightly-bent panel binds progressively tighter.
What a Professional Maintenance Visit Should Cover
A good maintenance visit isn’t an oil change. It’s a diagnostic against all three of your gate’s failure clocks, plus a report on what the technician saw. Here’s what to ask about, because most homeowners don’t think to:
- Capacitor test results. Ask the technician whether they measured capacitance against the motor rating. It’s the fastest way to know whether the operator is on borrowed time.
- Control board age and condition. Look for heat discoloration, swollen board capacitors, and moisture evidence around the housing. Ask what the board’s condition suggests for the next year.
- Safety sensor, reverse, and limit testing. All three should be actively tested, not just visually checked. A technician who doesn’t test these is skipping the parts that keep people safe.
- Structural inspection notes. Post plumb, footing, weld condition. If any are marginal, ask what the follow-up looks like.
- Wiring and terminal condition. At the operator and buried to the gate, especially if there’s been any standing water after rain.
- Lubrication done right. Appropriate grease on the pins and rollers, a chain-specific lube on the chain, and old product removed first.
- Operator brand and model noted. If your system is a BFT, Linear, or another brand, the technician should recognize it and know the specific failure modes. Our team works across nine major gate systems, so no gate visit starts with “we’d have to call the manufacturer.”
If you’re not sure who should be doing this work, our guide to gate repair in Virginia Beach explains what a repair visit typically covers. For context on how we approach gate-only work, Ashton Gate Repair lays out the scope of what we do. And for a broader view of the region we serve, our Virginia Beach page describes the area.
Common Mistakes to Avoid
- Treating maintenance as an annual event. A yearly tune-up covers mechanical wear but leaves the electrical clock running unattended. Electrical checks should happen at least twice as often as full maintenance visits.
- Using spray oil as a lasting lubricant. It thins and runs off quickly in Virginia Beach humidity, leaving the part drier than it was before. Use a moderately viscous grease instead.
- Skipping the photo-eye test because “it was working last time.” Safety beams fail without warning, and a gate that doesn’t stop for a person is a hazard regardless of how well it opens.
- Assuming a slow gate needs a new operator. A gate that’s hesitating often needs a capacitor, a limit adjustment, or a lubrication correction. Replacing the operator is the most expensive possible response to a $30 part.
- Ignoring a small post lean. A lean of a fraction of an inch today becomes a binding gate after a wet season. Once a post starts to shift, it usually keeps going.
- Deferring the post-storm check. A short inspection right after a storm is where most serious damage is caught before it snowballs. Waiting a month lets water damage in a control board spread.
- Fixing electrical problems above your skill level. A control board swap looks simple and is not. Line voltage at the operator is dangerous, and a poorly grounded board can damage the whole system.
- Letting debris build up on the gate’s travel path. Leaves and grit come off the track and go straight into the rollers. A two-minute sweep prevents weeks of wear.
See the difference
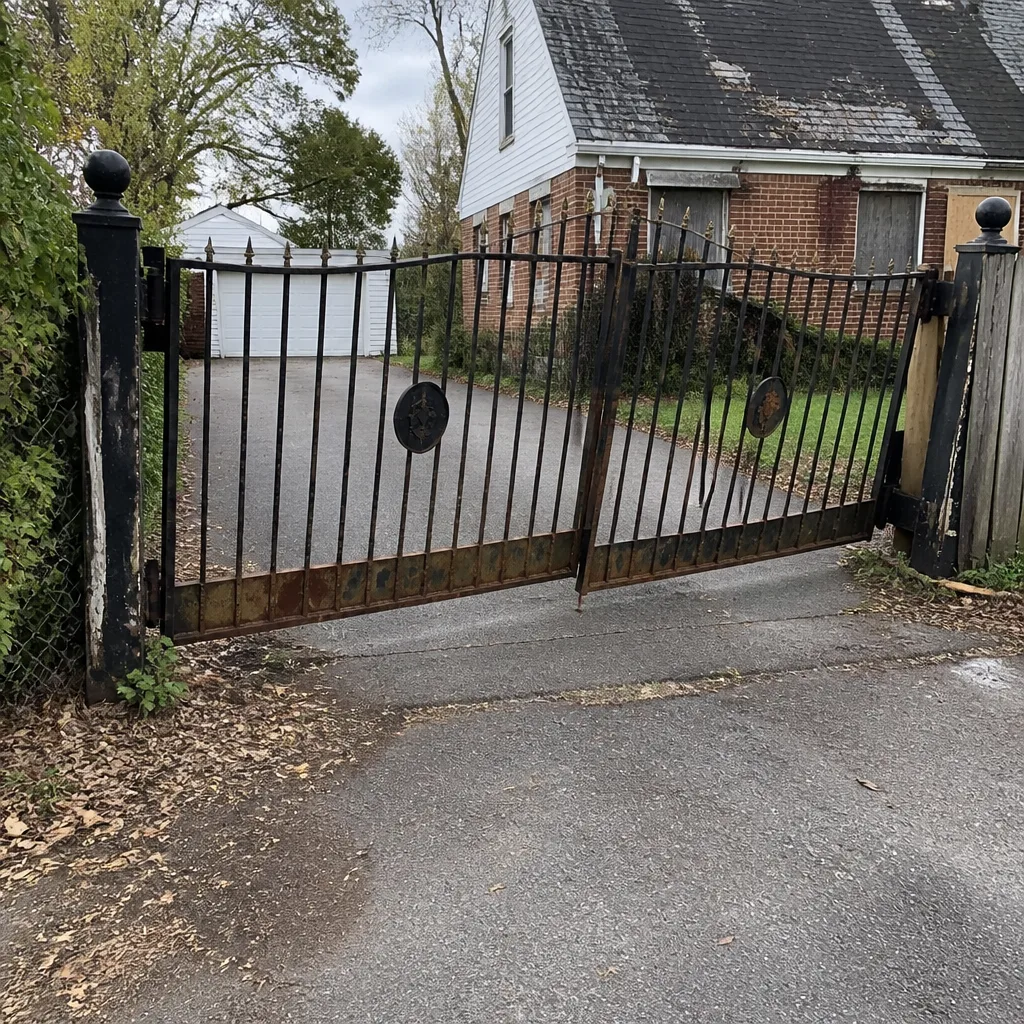 Before
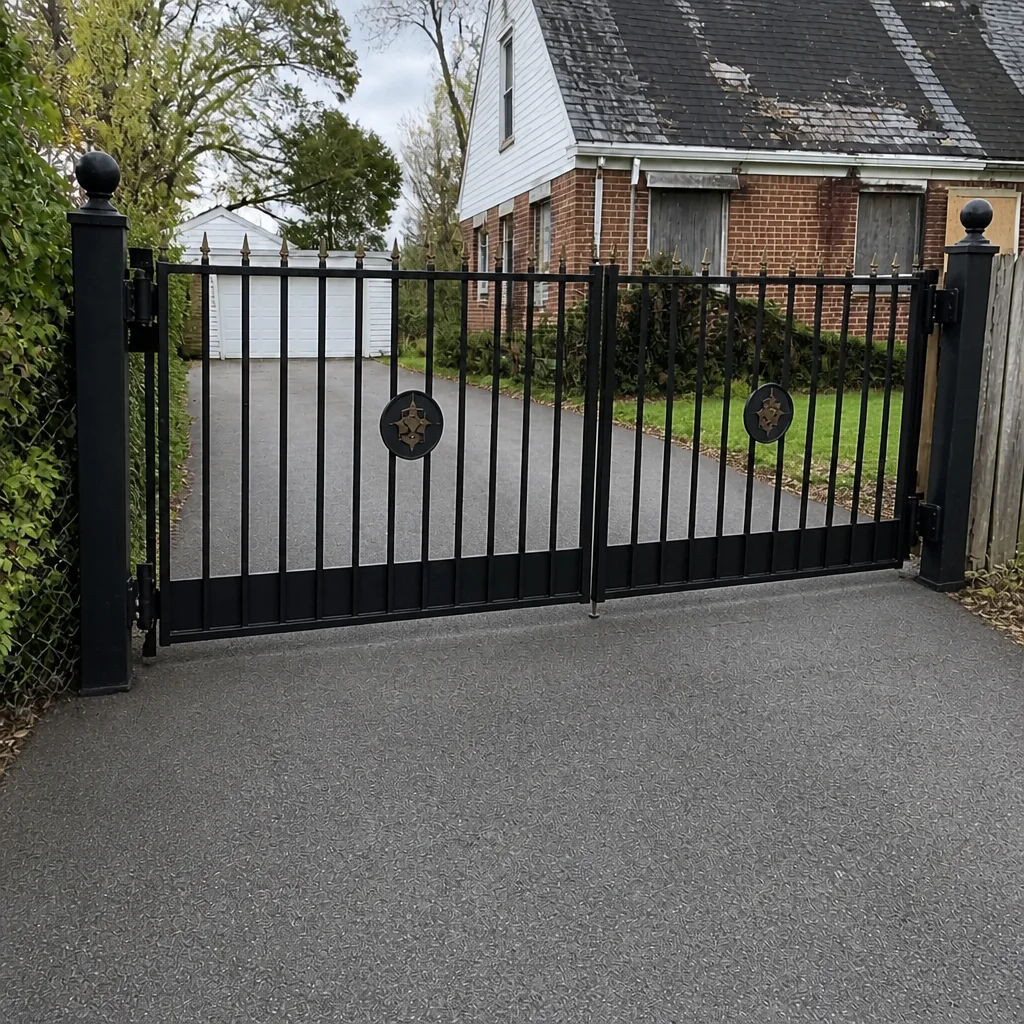 After
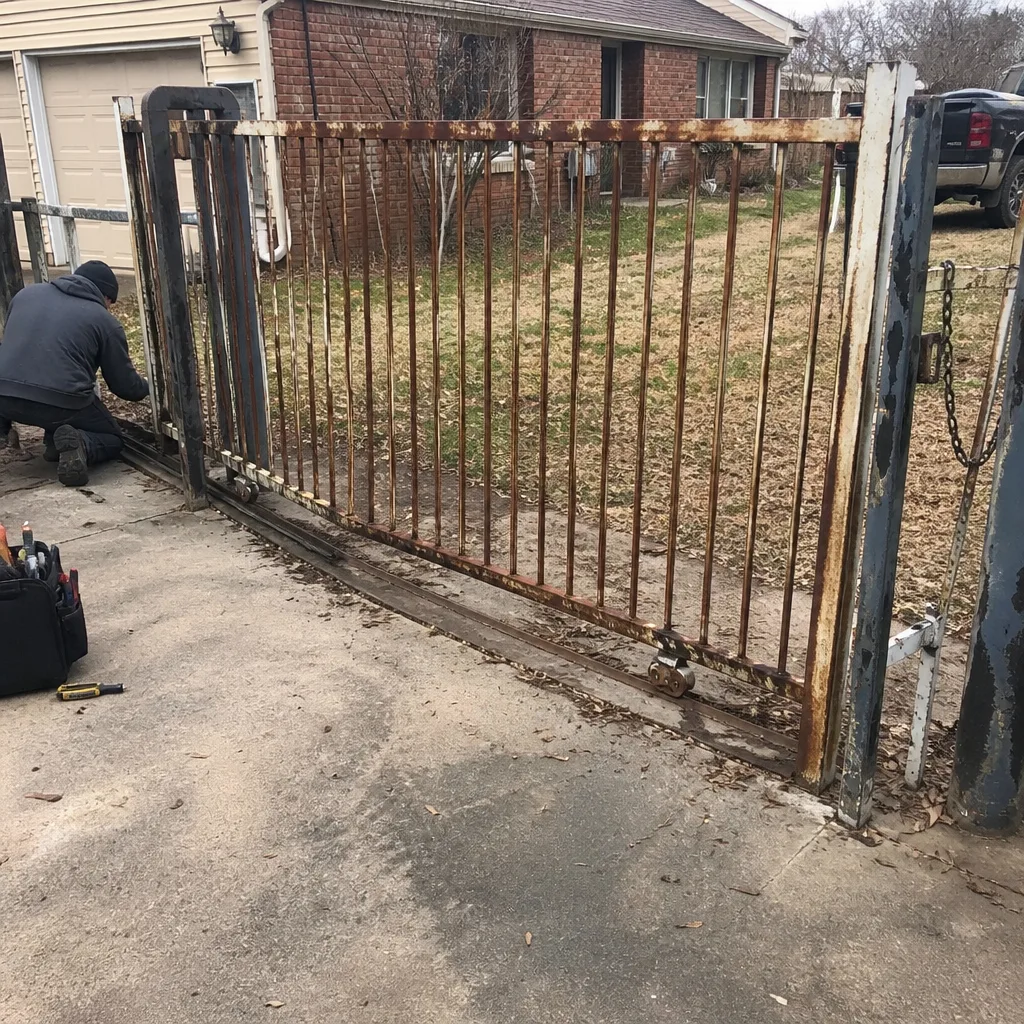 Before
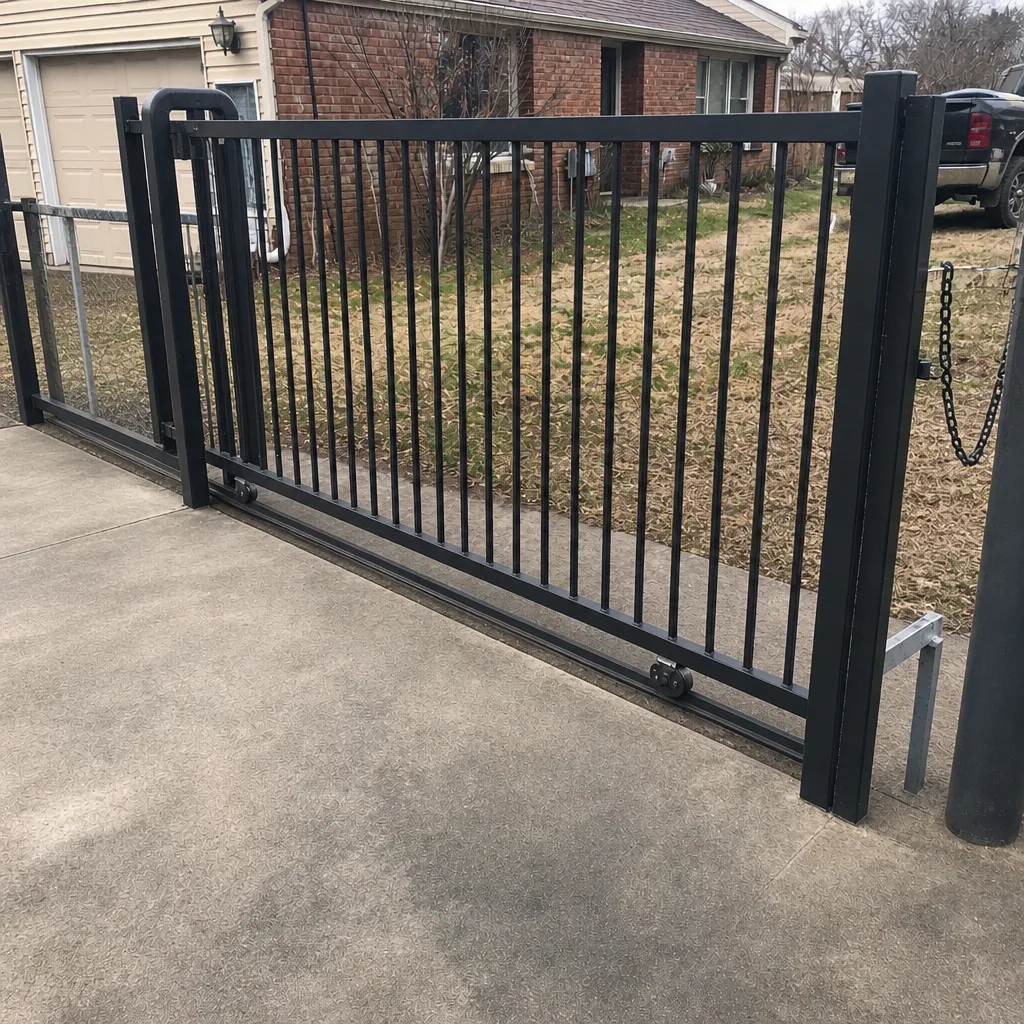 After
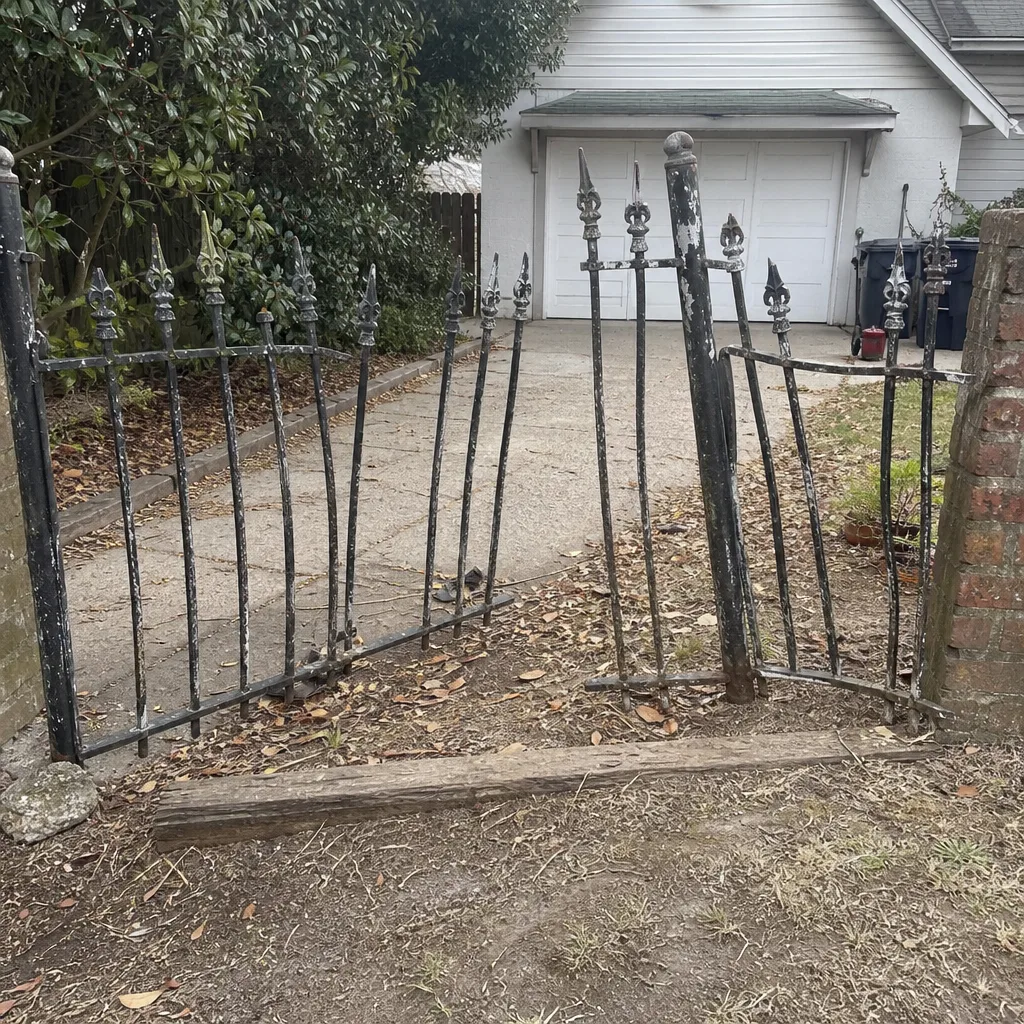 Before
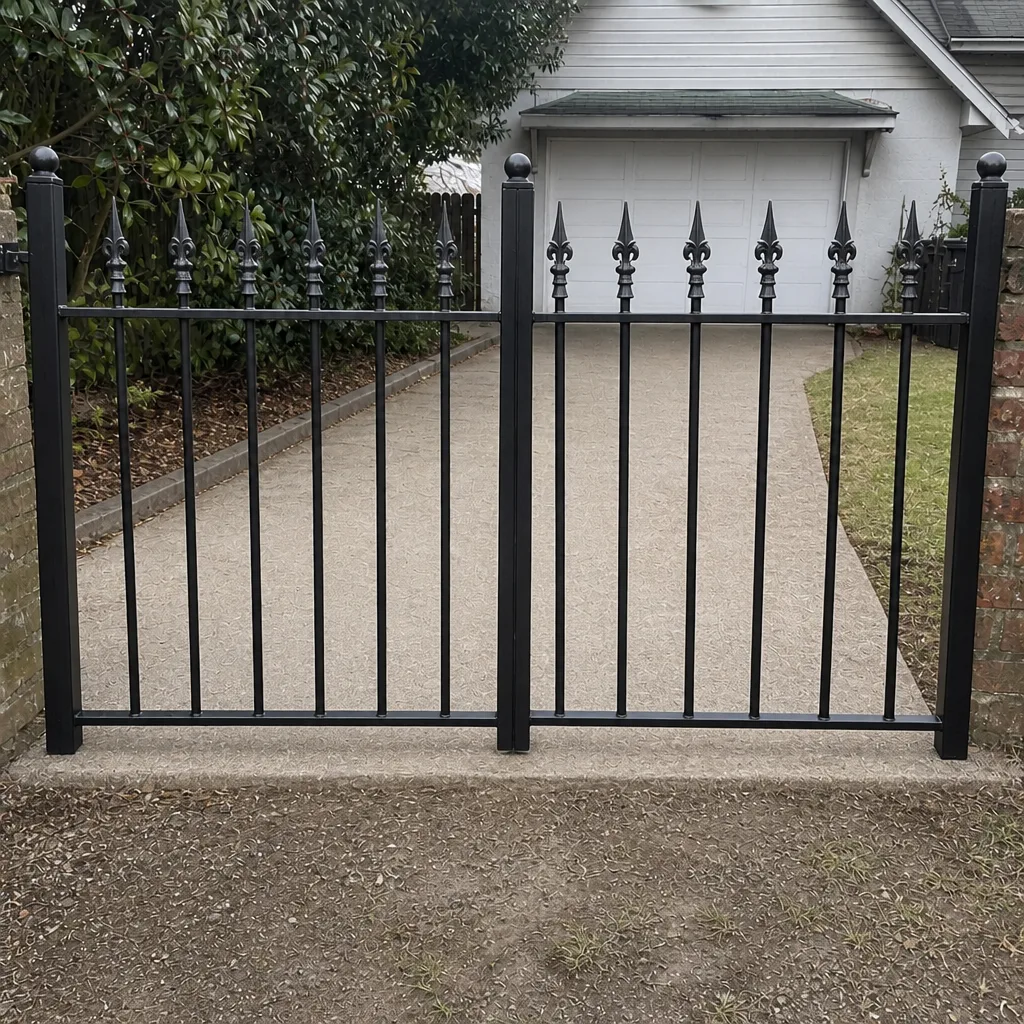 After
When to Call a Professional
Some problems are homeowner-maintainable and some aren’t, and knowing the difference saves money and prevents injury. Call a professional technician if the gate reverses or hesitates unpredictably, if it stalls mid-cycle with no obvious obstruction, if the post has developed any visible lean, if water got into the operator housing after a storm, or if a safety test fails. Also call if you run the two DIY tests and either one fails, which is the most reliable early signal that electrical work is needed.
Ashton Gate Repair offers free estimates in Virginia Beach. Call (844) 834-3028. We answer 24/7. Fast dispatch from 7am to 7pm, Sunday through Friday. The price is set by a written estimate before any work starts, so there’s no surprise on the invoice.
Frequently Asked Questions
Twice a year for a full mechanical and structural check, and electrical checks at least that often plus any time the gate misbehaves. Humidity and storm cycles wear electrical components faster than a once-a-year visit covers, so don’t wait for a failure to trigger a service call. Call (844) 834-3028 for a free estimate on what your gate needs.
The control board capacitor is the most common early failure we see. It sits inside the operator housing, dries out from heat, and loses capacity gradually, so the gate works fine for months and then stops mid-cycle one day. Testing capacitance against the motor’s rating is the way to catch it before it strands the gate. If your gate is stalling unpredictably, call (844) 834-3028 and we’ll test it.
Yes. Command the gate to close and pass a hand through the safety beam between the sensor eyes. If the gate doesn’t reverse, the beam has failed. Stop using the gate and call for service. This is a safety feature, not a convenience, and a failed sensor needs a real repair rather than a workaround. Call (844) 834-3028 for an exact quote.
A moderately viscous grease on hinges and rollers, and a chain-specific lubricant on chains. Avoid light spray oils, which thin and run off quickly in our humidity, and avoid heavy tacky greases that collect grit and accelerate wear. Wipe old grease off before adding new. If you’re unsure what your operator needs, call (844) 834-3028 and ask.
Start by clearing debris from the gate’s travel path, then check posts and footings for water damage or erosion, test the safety sensor and reverse function, inspect panels for impact damage, and look for water at the operator housing. Any structural movement or water intrusion into the housing means stop using the gate until it’s inspected. Call (844) 834-3028 if you find anything concerning.
For anything involving the operator, control board, sensors, or structural work, a gate-only specialist is the better call. A generalist has to subcontract electrical diagnostics or guess at the brand-specific failure modes. Our team works across nine major gate systems, from residential Ghost Controls and Mighty Mule units to commercial FAAC and DoorKing operators, so a single visit usually resolves the problem. Call (844) 834-3028 for a free estimate.
The Bottom Line
Gate maintenance is not a single checklist done once a year. It’s three checklists running on three different clocks: mechanical wear, electrical degradation, and structural shift. In Virginia Beach, humidity and storms speed up all three, and the fastest clock is the one most homeowners never look at, the control board capacitor. Build your maintenance around monthly mechanical and sensor checks, twice-yearly structural inspections, and a proper post-storm walkthrough every time a named storm passes through. If you’d rather have an experienced technician handle the electrical and structural side, call Ashton Gate Repair at (844) 834-3028 for a free estimate. The price is set by a written estimate before any work starts.
Written by the team at Ashton Gate Repair.